Posts Tagged ‘Iphone Mail Set up’
How to set up your email account on an Iphone
Jan 18 16
The following instructions are for setting up your domain’s email address on your Iphone or Ipad:
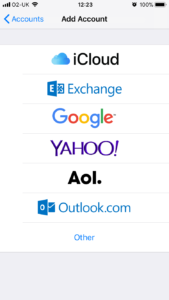
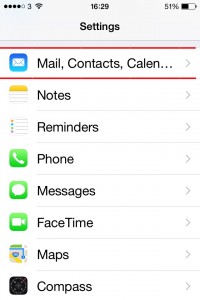
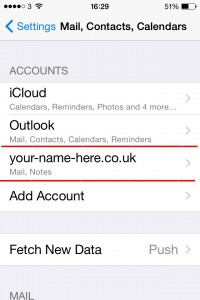
Firstly go the the Settings sections of your device and click on ‘Mail, Contacts, Calendars’ and then click on ‘Add Account’
You will see the options above – click on ‘Other’
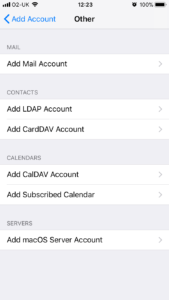
Then click on ‘Add amail Account to enter your account settings.
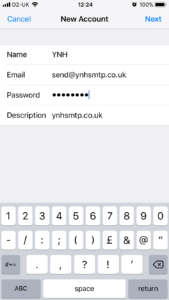
Enter the details of your email address with the same password you used in your control panel when setting up the mailbox.
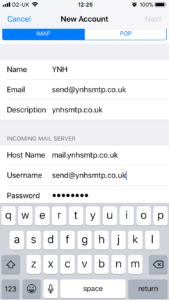
The following page lets you choose whether you would like the account set up as an IMAP or POP account. For more information on choosing IMAP or POP click here.
This is also where you enter the details for the incoming mailserver, which will be mail.yourdomainname.co.uk (obviously replace yourdomainname.co.uk with your actual domain name).
The username will be the full email address you are setting up and the password will be the same password you set up for the mailbox in your control panel.
You can also refer to your confirmation email for further details on setting up emails in your control panel.
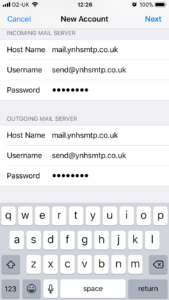
You are then prompted to enter the user details of the outgoing mailserver. For this just duplicate exactly what you entered for the incoming mailserver.
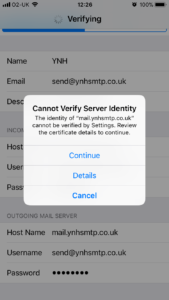
If the phone has an issue connecting to the mailserver security certificate you may see the following:
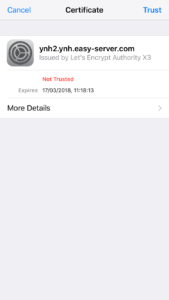
If you get this then click on ‘Details’ then ‘More Details’ then click on ‘Trust’ in the top right hand corner:
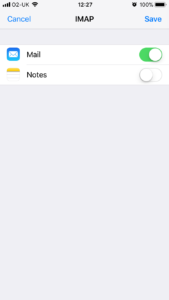
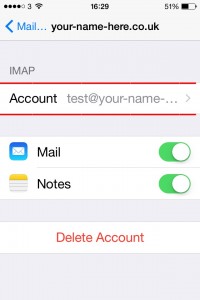
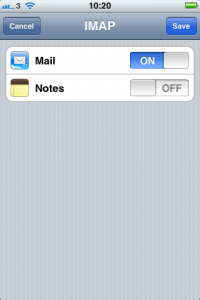
The set up of your mail account is then complete. Then just ensure that you have the mail service switched on:
Problems when setting up email account on iphone
Jun 15 04
If you have problems with a new email account on an iphone, more often than not the issue will lie with the Outgoing Server (SMTP) settings. The following steps show how to access the Outgoing Server settings and make any amendments:
Firstly go to the Settings App, then click on ‘Mail, Contacts, Calendars’
On the accounts page, click on the account you are having problems with.
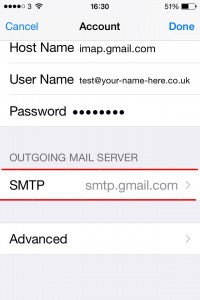
This will show you all the settings for that email account. Scroll down then click on the ‘Outgoing Mailserver’
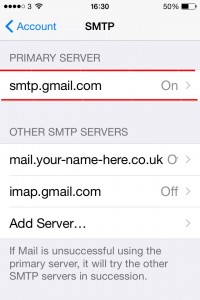
You will see a list of all SMTP servers you have stored in your phone. The Primary Server is the one you will be using so click on that one.
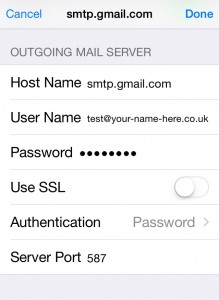
For the settings of the outgoing mailserver you need to check the following:
1. Confirm that SSL is switched OFF.
2. Make sure authentication is set to ‘Password’
3. Have the Server Port set to 587 or 25.
4. Then click on ‘Done’
The settings should be verified. If this doesn’t work, double check all the spellings and make sure you have the dots in the right place etc. You can also try re-entering the password if you continue to get an error.
How to set up your email account on your Iphone
Sep 12 21
The following instructions are for setting up your domain’s email address on your Iphone, Ipad or Ipod Touch:
Firstly go the the Settings sections of your device and click on ‘Mail, Contacts, Calendars’ and then click on ‘Add Account’
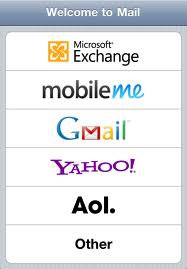
The go to ‘Other’ and then ‘Add Mail Account’ to start setting up your domain’s email address.
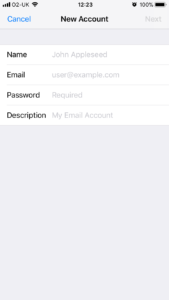
You will then be given the screen above in which you enter your Name, the email address you are setting up with it’s password and a description of the account.
Then click on ‘Next’ to enter the mailserver details.
Choose pop or imap and enter the incoming mailserver details which will be mail.yourdomainname.co.uk (obviously replace yourdomainname.co.uk with your actual domain name).
The username will be the full email address you are setting up and the password will be the same password you set up for the mailbox in your control panel.
You can also refer to your confirmation email for further details on setting up emails in your control panel.
Then scroll down and enter the details of the Outgoing mailserver, which will be exactly the same as the incoming (as above) and click next.
Once the account is accepted you will see the above screen. Click on’Save’ and your account will be added to your device.
You can then go to your home screen and click on ‘Mail’ to view/manage your emails.

